【UE4C++ ActionRougelike-01】角色创建
一、创建Character类
以Character类为父类创建本游戏的玩家角色类MyCharacter
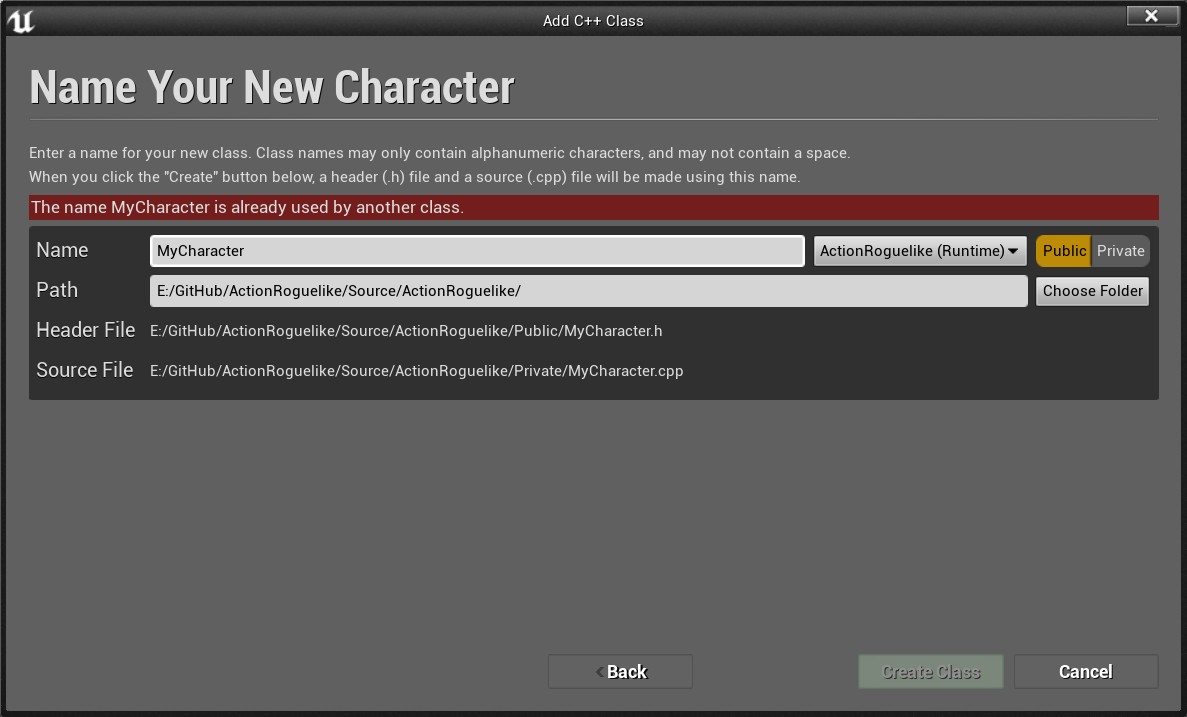
以MyCharacter类为父类创建蓝图PlayerCharacter_BP
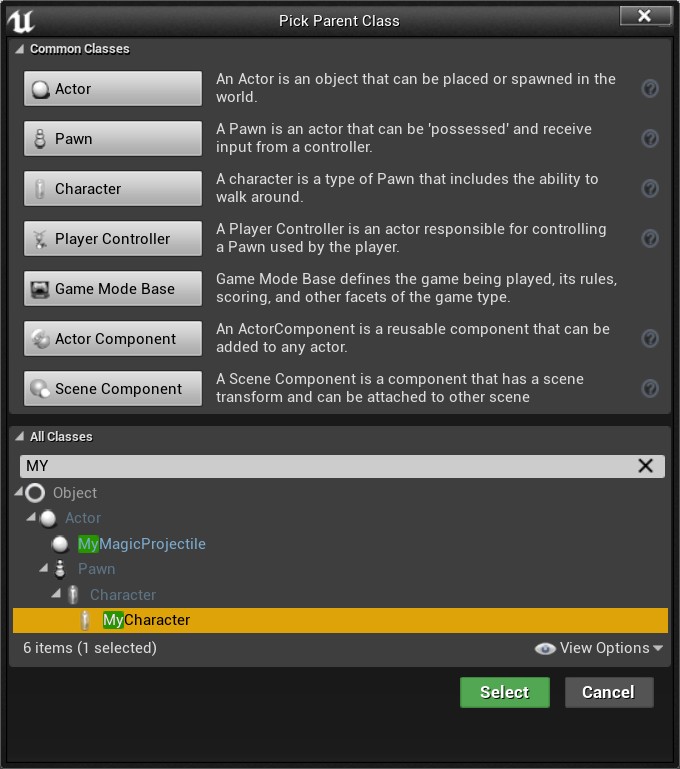
Character由多个组件构成:
- Capsule Component是用来处理碰撞、用于运动的
- Arrow Component是为了显示方向
- Mesh展示Character外观
- Character Movement移动组件
二、添加摄像机组件
1、添加组件
MyCharacter.h中添加摄像机组件:
//MyCharacter.h
class ACTIONROGUELIKE_API AMyCharacter : public ACharacter
{
protected:
    UPROPERTY(VisibleAnywhere)			//宏定义,暴露给蓝图
	USpringArmComponent* SpringArmComp;	//声明一个弹簧臂组件

	UPROPERTY(VisibleAnywhere)
	UCameraComponent* CameraComp;		//声明一个摄像机组件
}
2、初始化组件
MyCharacter.cpp中初始化摄像机组件
//MyCharacter.cpp
//构造函数中初始化摄像机组件
AMyCharacter::AMyCharacter()
{
	//创建弹簧臂组件,用作相机臂,以避免玩家的跟随相机与世界发生碰撞。
	SpringArmComp = CreateDefaultSubobject<USpringArmComponent>("SpringArmComp");
	//将弹簧臂组件附加到根组件上
	SpringArmComp->SetupAttachment(RootComponent);

	//创建摄像机组件
	CameraComp = CreateDefaultSubobject<UCameraComponent>("CameraComp");
	//将摄像机组件附加到弹簧臂组件上
	CameraComp->SetupAttachment(SpringArmComp);
}
3、总结
3.1 USpringArmComponent
- 组件功能:用于控制相机在游戏中的位置和旋转。常与摄像机组件(UCameraComponent)结合使用,以实现角色或物体的视角控制。
- 作用:弹簧臂组件可以通过进行碰撞测试,避免相机穿越场景中的物体。
3.2 CreateDefaultSubobject
函数功能:在对象的构造函数中创建并初始化组件,并将其附加到对象上,从而在对象创建时同时创建并初始化其子对象。
函数语法:
T* CreateDefaultSubobject<FName>(const FName& Name, bool bIsRequired = false)函数参数:
- T:表示要创建的组件的类型,
- FName:表示组件的名称,
- bIsRequired:表示组件是否为必需的(默认为 false)
注意事项:只能在构造函数中使用
用于在对象的构造函数中创建和初始化组件或默认的子对象。
三、绑定运动输入
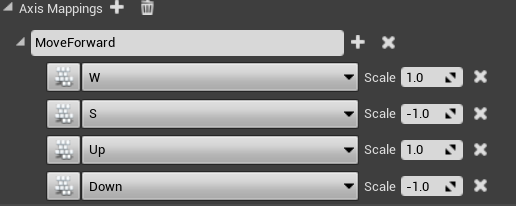
1、绑定输入和输入事件名
在项目设置->input中绑定输入和输入事件名称
2、绑定输入事件和处理函数
在MyCharacter.h中声明处理函数
//MyCharacter.h
class ACTIONROGUELIKE_API AMyCharacter : public ACharacter
{
protected:
    void MoveForward(float value);
	void MoveRight(float value);
}
在SetupInputComponent()中绑定输入事件和处理函数,实现处理函数的功能逻辑。
//MyCharacter.cpp
void AMyCharacter::SetupPlayerInputComponent(UInputComponent* PlayerInputComponent)
{
	//绑定前后移动事件与处理函数
	PlayerInputComponent->BindAxis(TEXT("MoveForward"), this, &AMyCharacter::MoveForward);
	//绑定左右移动事件与处理函数
	PlayerInputComponent->BindAxis(TEXT("MoveRight"), this, &AMyCharacter::MoveRight);
}

void AMyCharacter::MoveForward(float value)
{
	FRotator controlRot = GetControlRotation();
	//忽略其他坐标轴的旋转
	controlRot.Pitch = 0.0f;
	controlRot.Roll = 0.0f;
	AddMovementInput(controlRot.Vector(), value);
}

void AMyCharacter::MoveRight(float value)
{
	FRotator controlRot = GetControlRotation();
	controlRot.Pitch = 0.0f;
	controlRot.Roll = 0.0f;
	/*
	*  X = Forward
	*  Y = Right
	*  Z = Up
	*/
	//返回右向量(Y代表右向量)
	FVector RightVector = FRotationMatrix(controlRot).GetScaledAxis(EAxis::Y);
	AddMovementInput(RightVector, value);
}
3、总结
3.1 SetupPlayerInputComponent
- 函数功能:
SetupPlayerInputComponent函数是一个在角色类中用于设置玩家输入组件的函数,它在角色被创建时由引擎自动调用,用于绑定输入事件和处理函数。
3.2 BindAxis()和BindAction()
函数功能:
BindAxis()和BindAction()是两种不同的输入事件绑定方式,用于处理不同类型的输入事件。函数语法:
- ```cpp
void UInputComponent::BindAxis(
FName AxisName,
AActor* Actor,
UFunction* Function,
bool bEnableInput = true
)- ```cpp void UInputComponent::BindAction( FName ActionName, EInputEvent KeyEvent, AActor* Actor, UFunction* Function, FInputActionHandlerSignature Delegate ) /* EInputEvent: IE_Pressed:按键被按下时触发的输入事件。 IE_Released:按键被释放时触发的输入事件。 IE_Repeat:按键在持续按下状态下每帧触发的输入事件。 */
- ```cpp
调用时机:BindAxis()的处理函数在轴输入变化时被调用(会被持续调用),BindAction()的处理函数在动作输入发生时调用一次
四、添加项目资源
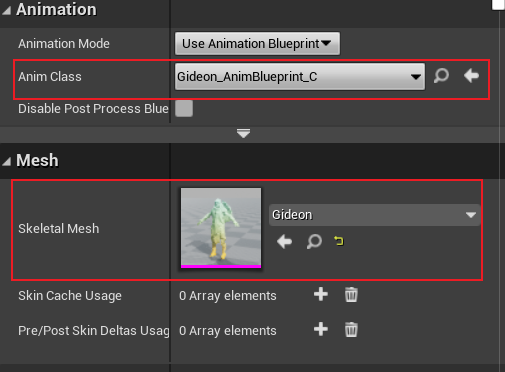
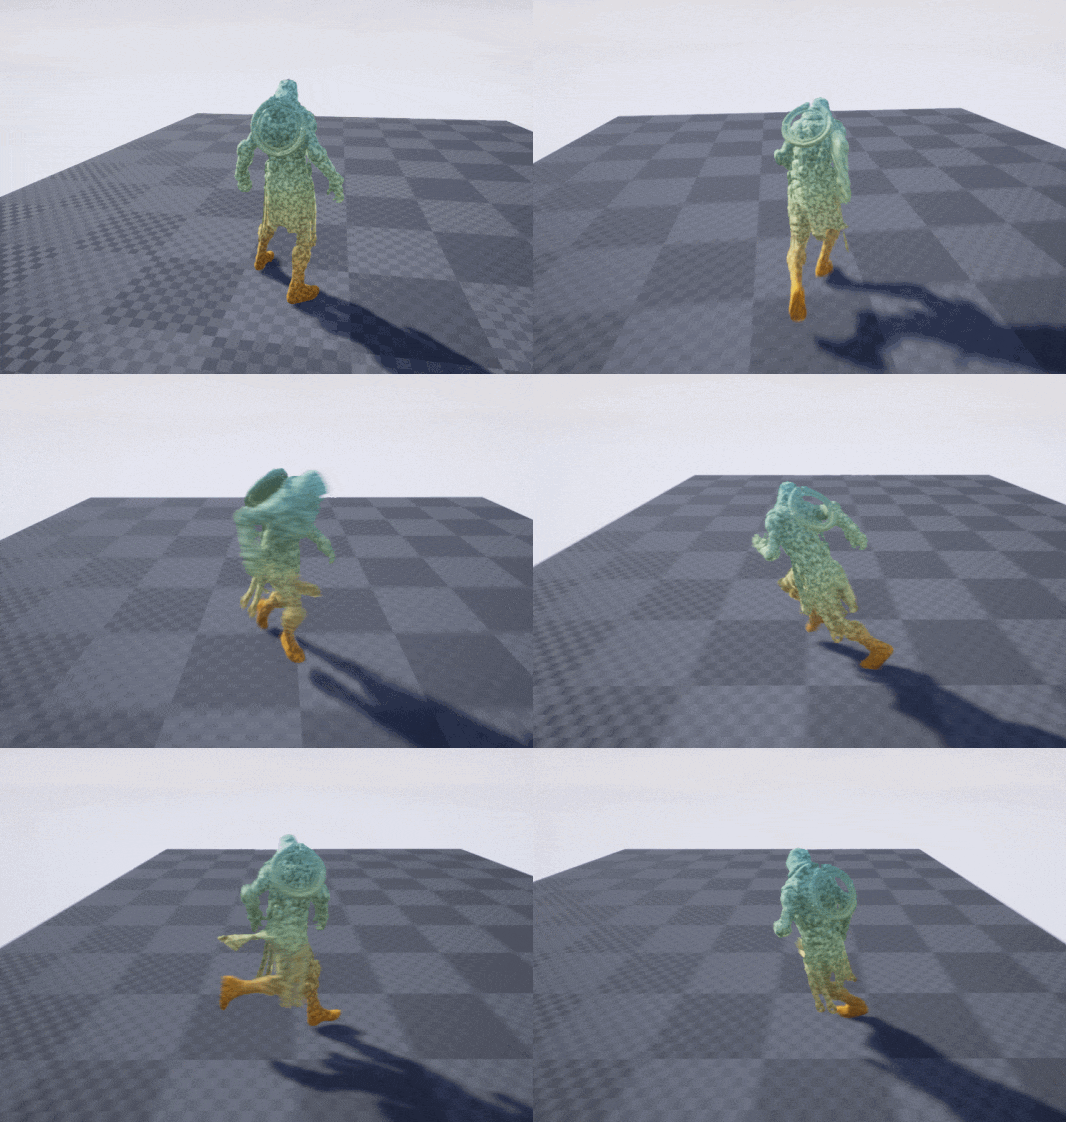
至此,我们得到了一个能够前后左右移动的Character,效果如下:
